TempleOS: 1 - Installation
Published on , 1754 words, 7 minutes to read
TempleOS is a public domain, open source (requires source code to boot) multitasking OS for amd64 processors without EFI support. It's fully cooperatively multitasked and all code runs in Ring 0. This means that system calls that normally require a context switch are just normal function calls. All ram is identity-mapped too, so sharing memory between tasks is as easy as passing a pointer. There's a locking intrinsyc too. It has full documentation (with graphical diagrams) embedded directly in source code.
This is outsider art. The artist of this art, Terry A. Davis (1969-2018, RIP), had very poor mental health before he was struck by a train and died. I hope he is at peace.
However, in direct spite of this, I believe that TempleOS has immediately applicable lessons to teach about OS and compiler design. I want to use this blogpost series to break the genius down and separate it out from the insanity, bit by bit.
This is not intended to make fun of the mentally ill, disabled or otherwise incapacitated. This is not an endorsement of any of Davis' political views. This is intended to glorify and preserve his life's work that so few can currently really grasp the scope of.
If for some reason you are having issues downloading the TempleOS ISO, I have uploaded my copy of it here. Here is its SHA512 sum:
7a382d802039c58fb14aab7940ee2e4efb57d132d0cff58878c38111d065a235562b27767de4382e222208285f3edab172f29dba76cb70c37f116d9521e54c45 TOS_Distro.ISO
Choosing Hardware
TempleOS doesn't have support for very much hardware. This OS mostly relies on hard-coded IRQ numbers, VGA 640x480 graphics, the fury of the PC speaker, and standard IBM PC hardware like PS/2 keyboards and mice. If you choose actual hardware to run this on, your options are sadly very limited because hard disk controllers like to spray their IRQ's all over the place.
I have had the best luck with the following hardware:
- Dell Inspiron 530 Core 2 Quad
- 4 GB of DDR2 RAM
- PS/2 Mouse
- PS/2 Keyboard
- 400 GB IDE HDD
Honestly you should probably run TempleOS in a VM because of how unstable it is when left alone for long periods of time.
VM Hypervisors
TempleOS works decently with VirtualBox and VMWare; however only VMWare supports PC speaker emulation, which may or may not be essential to properly enjoying TempleOS in its true form. This blogpost series will be using VirtualBox for practicality reasons.
Setting Up the VM
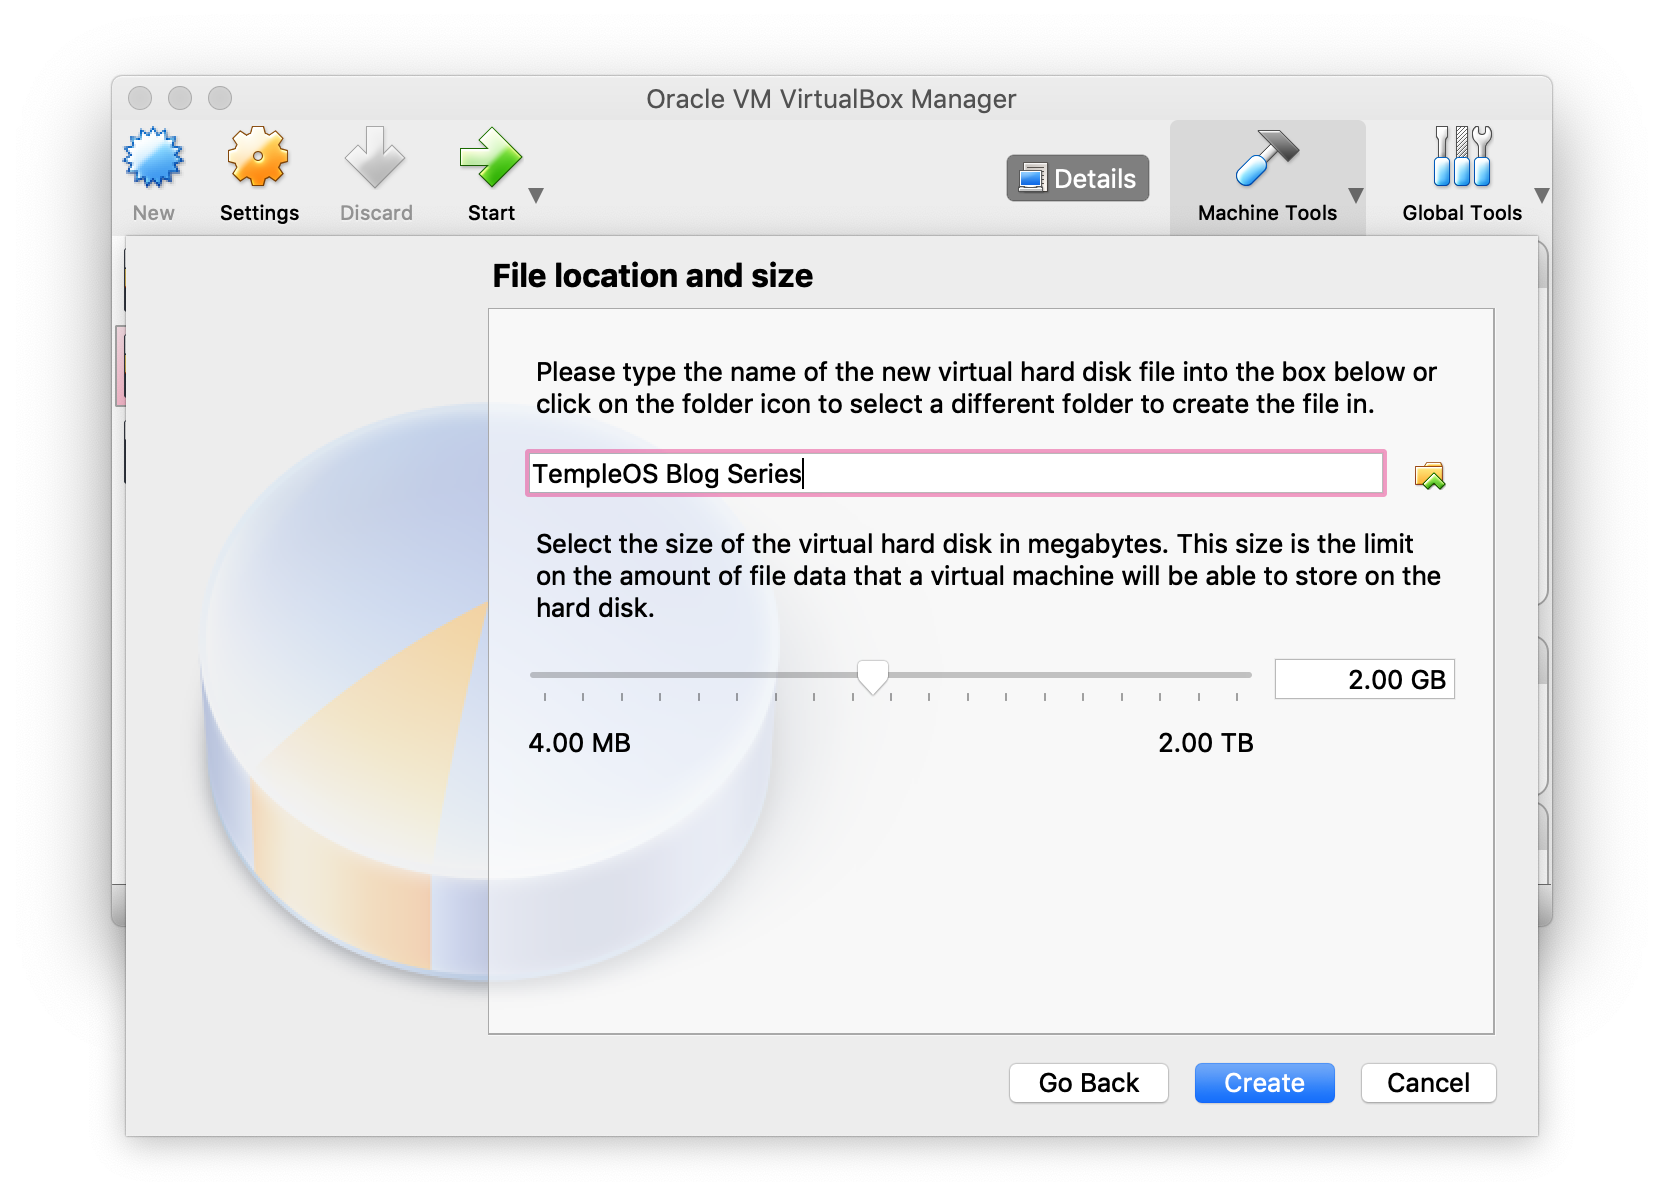
TempleOS is a 64 bit OS, so pick the type Other and the version Other/Unknown (64-bit). Name your VM whatever you want:
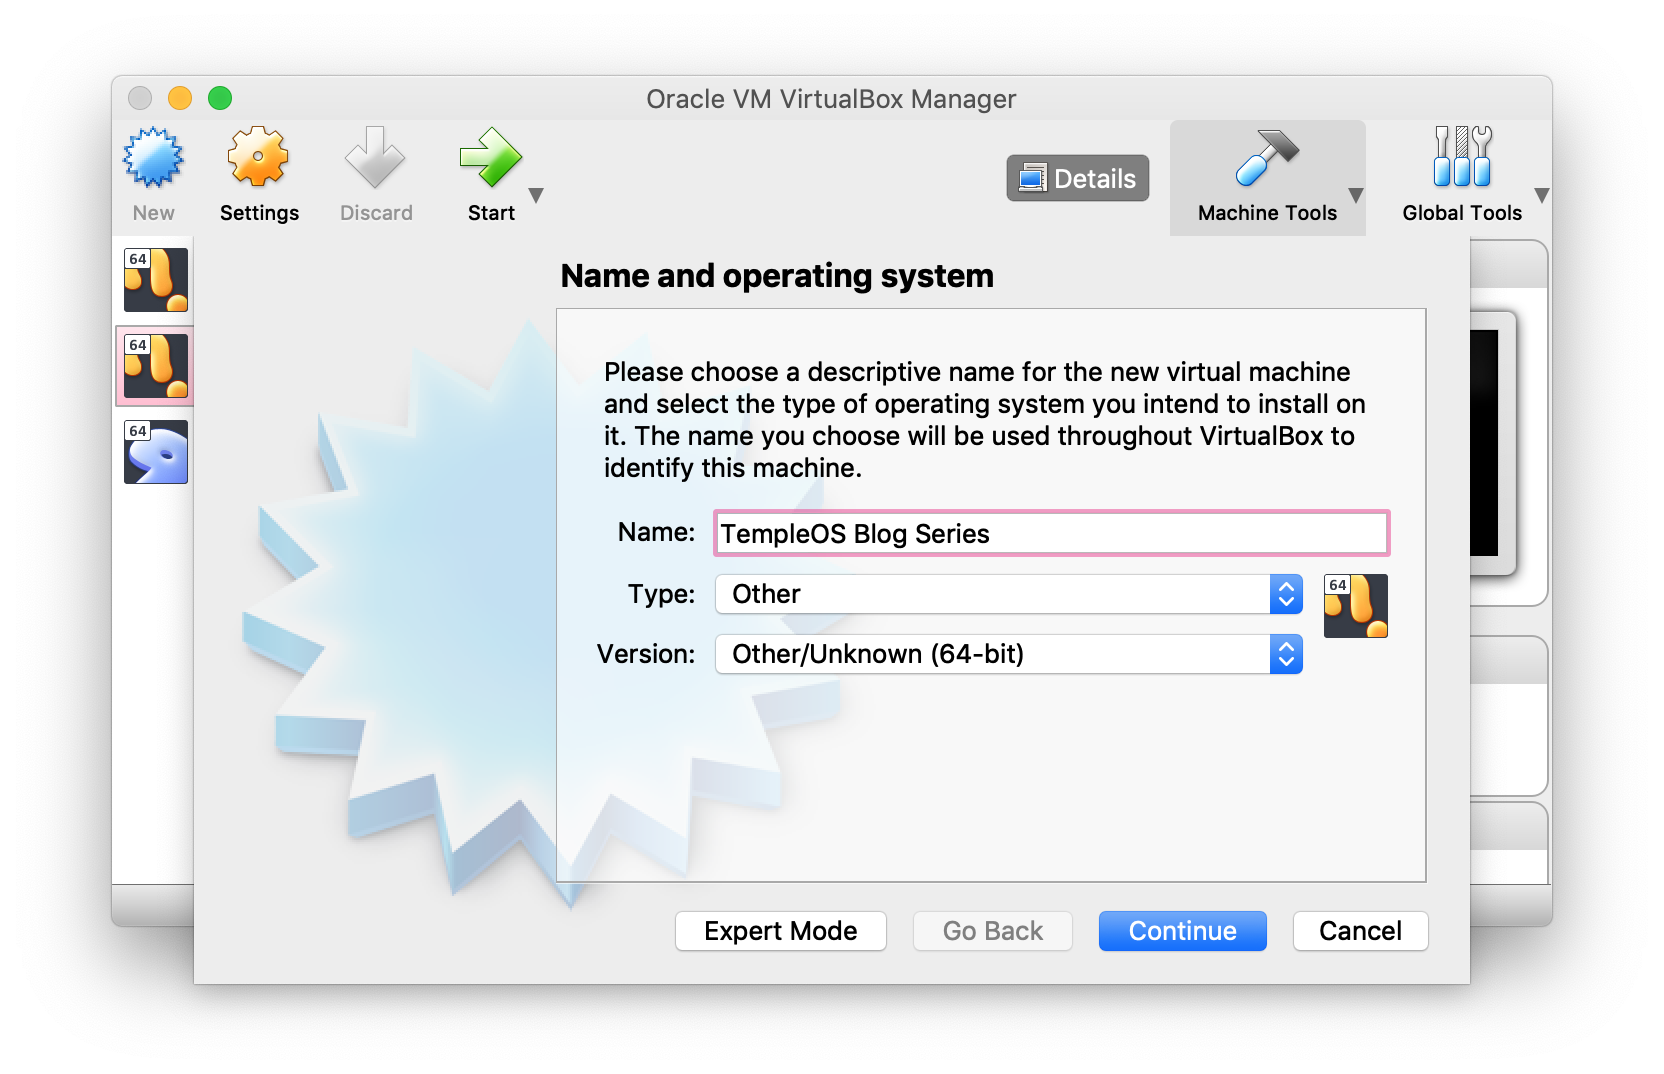
Then press Continue.
TempleOS requires 512 MB of ram to boot, so let's be safe and give it 2 gigs:
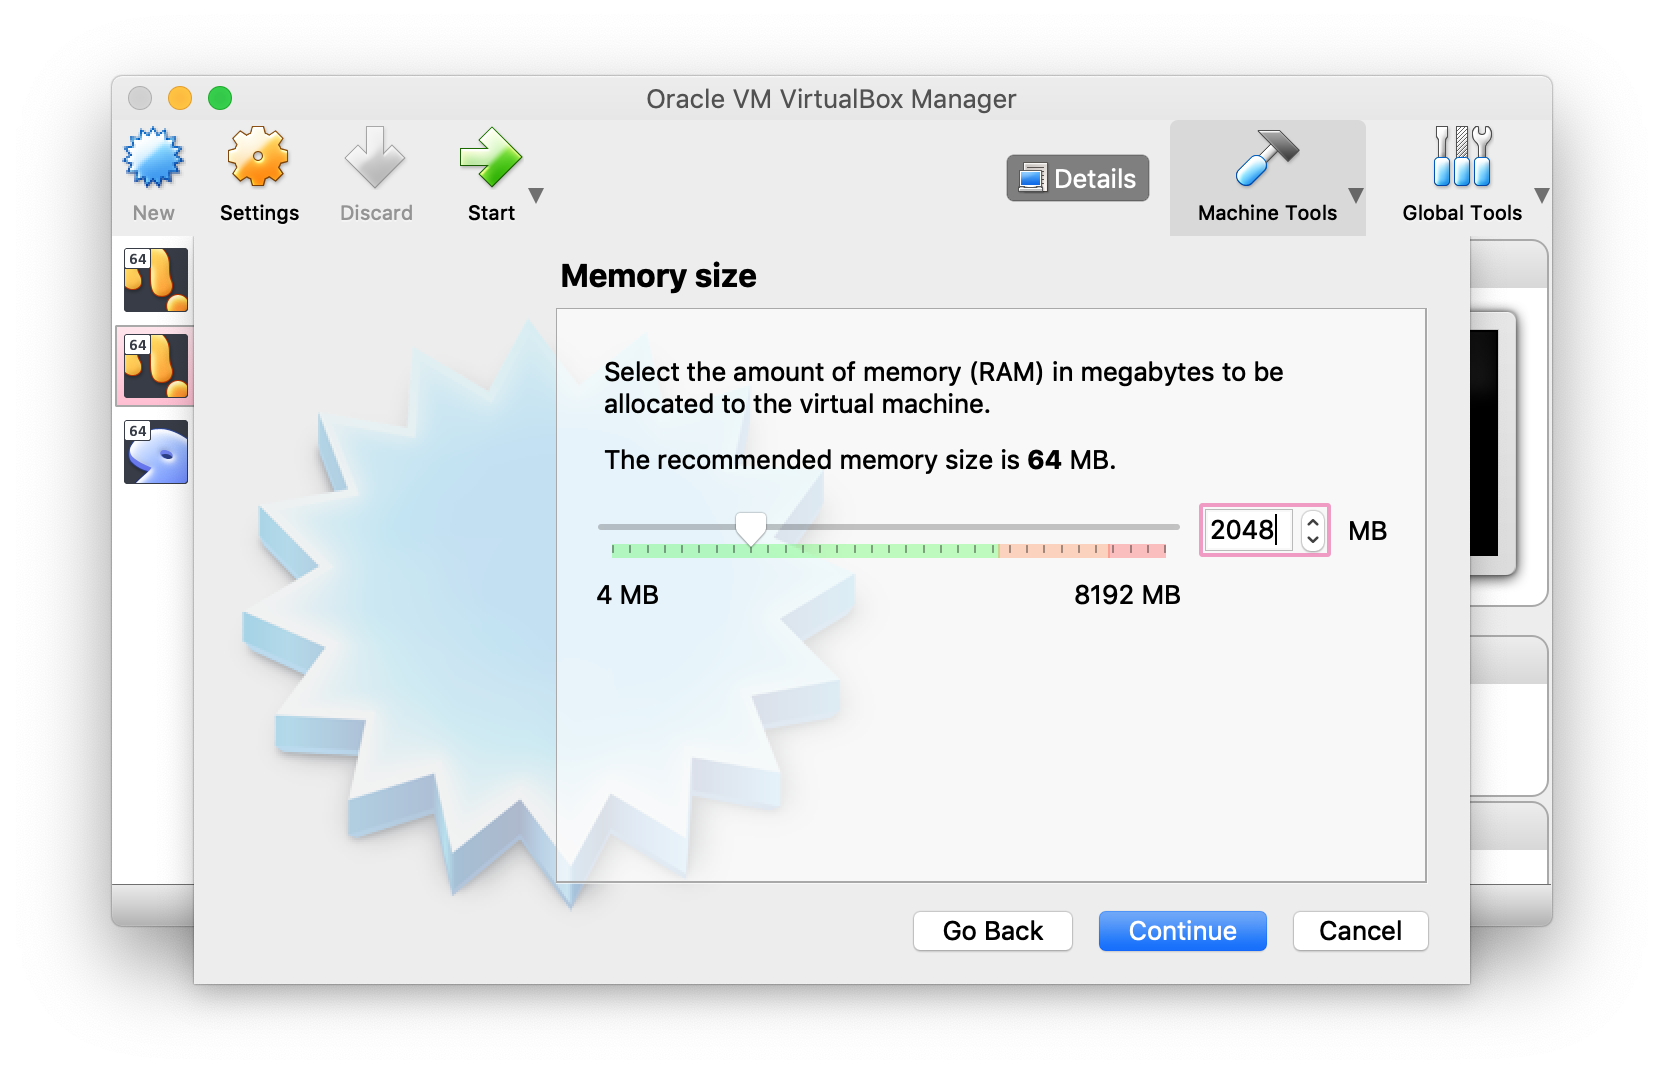
Then press Continue.
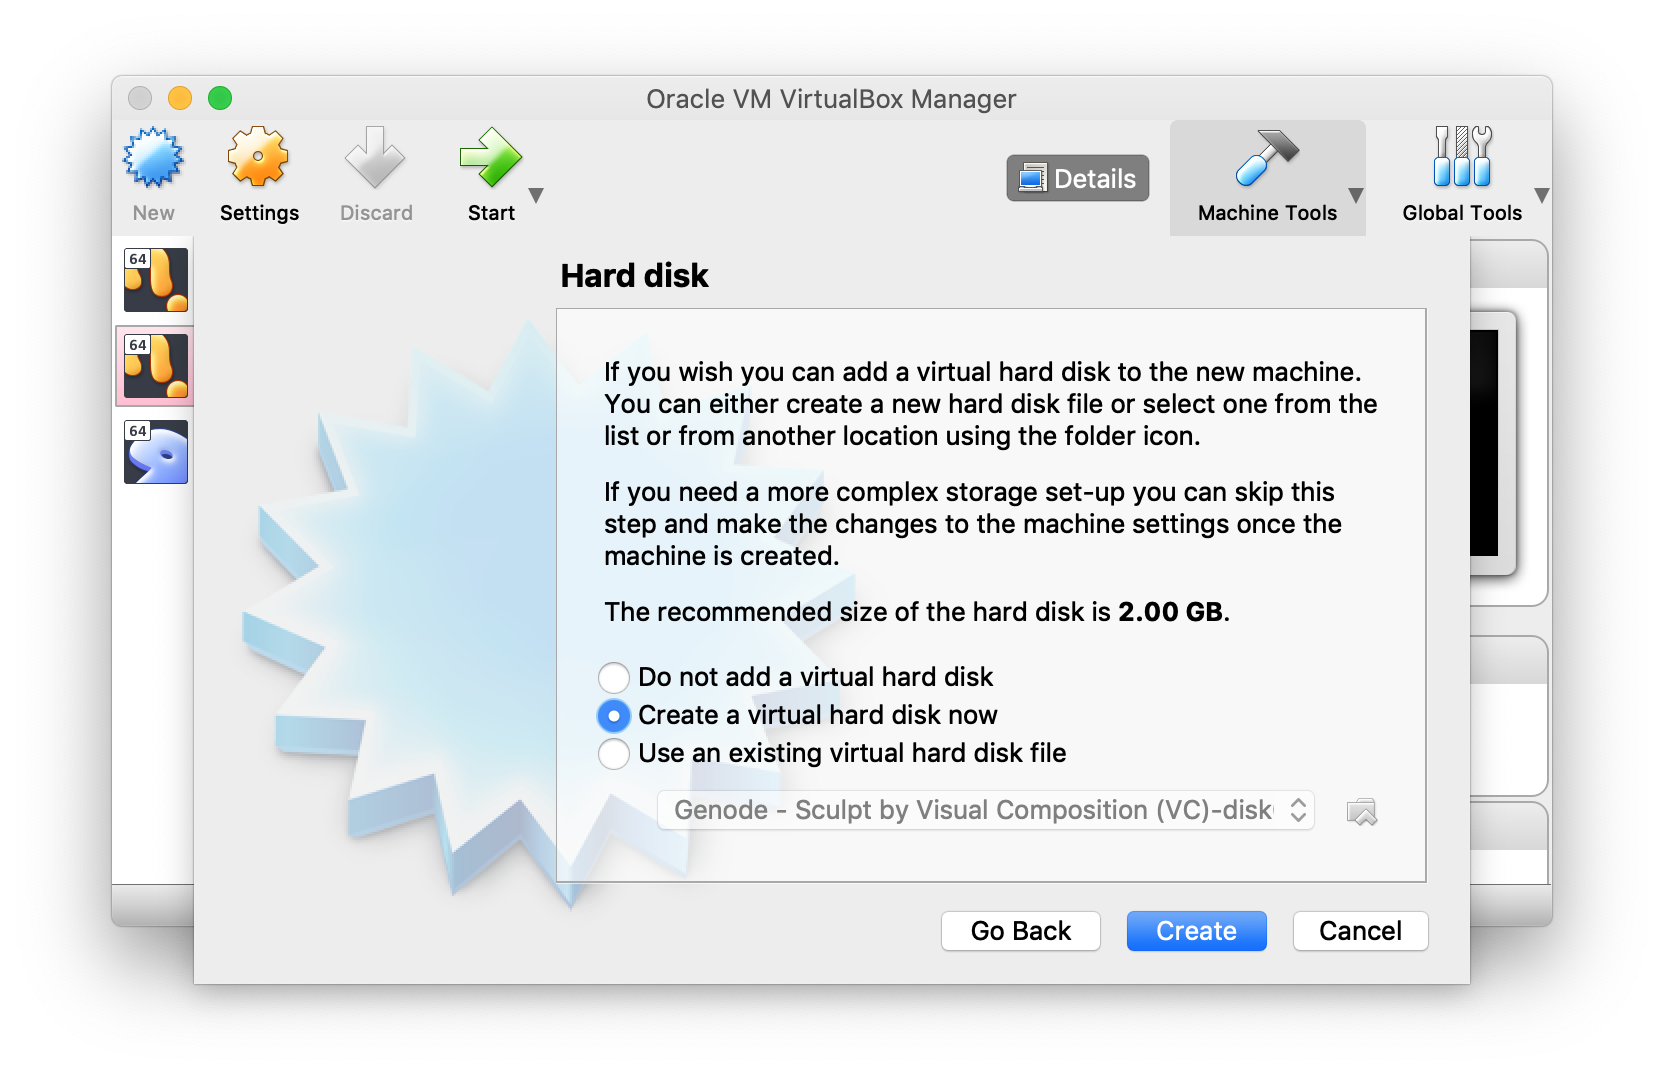
It will ask if you want to create a new hard disk. You do, so click Create:
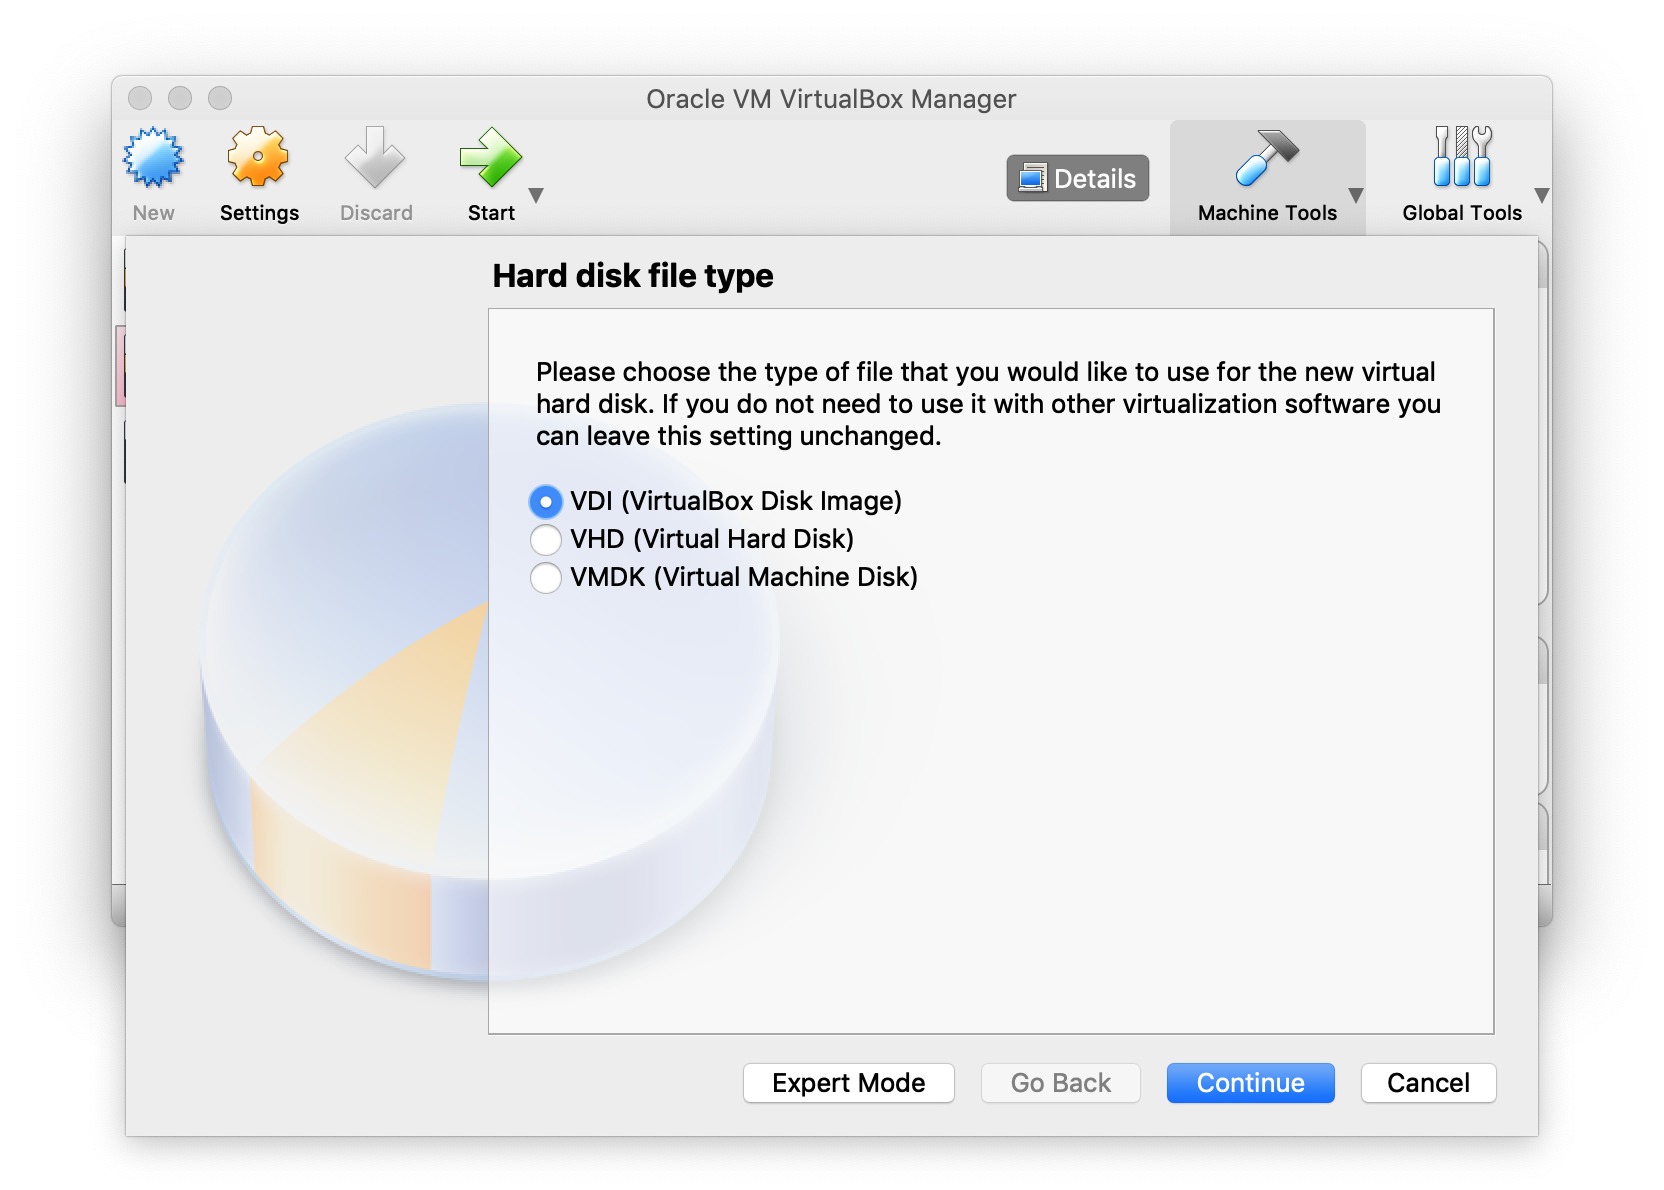
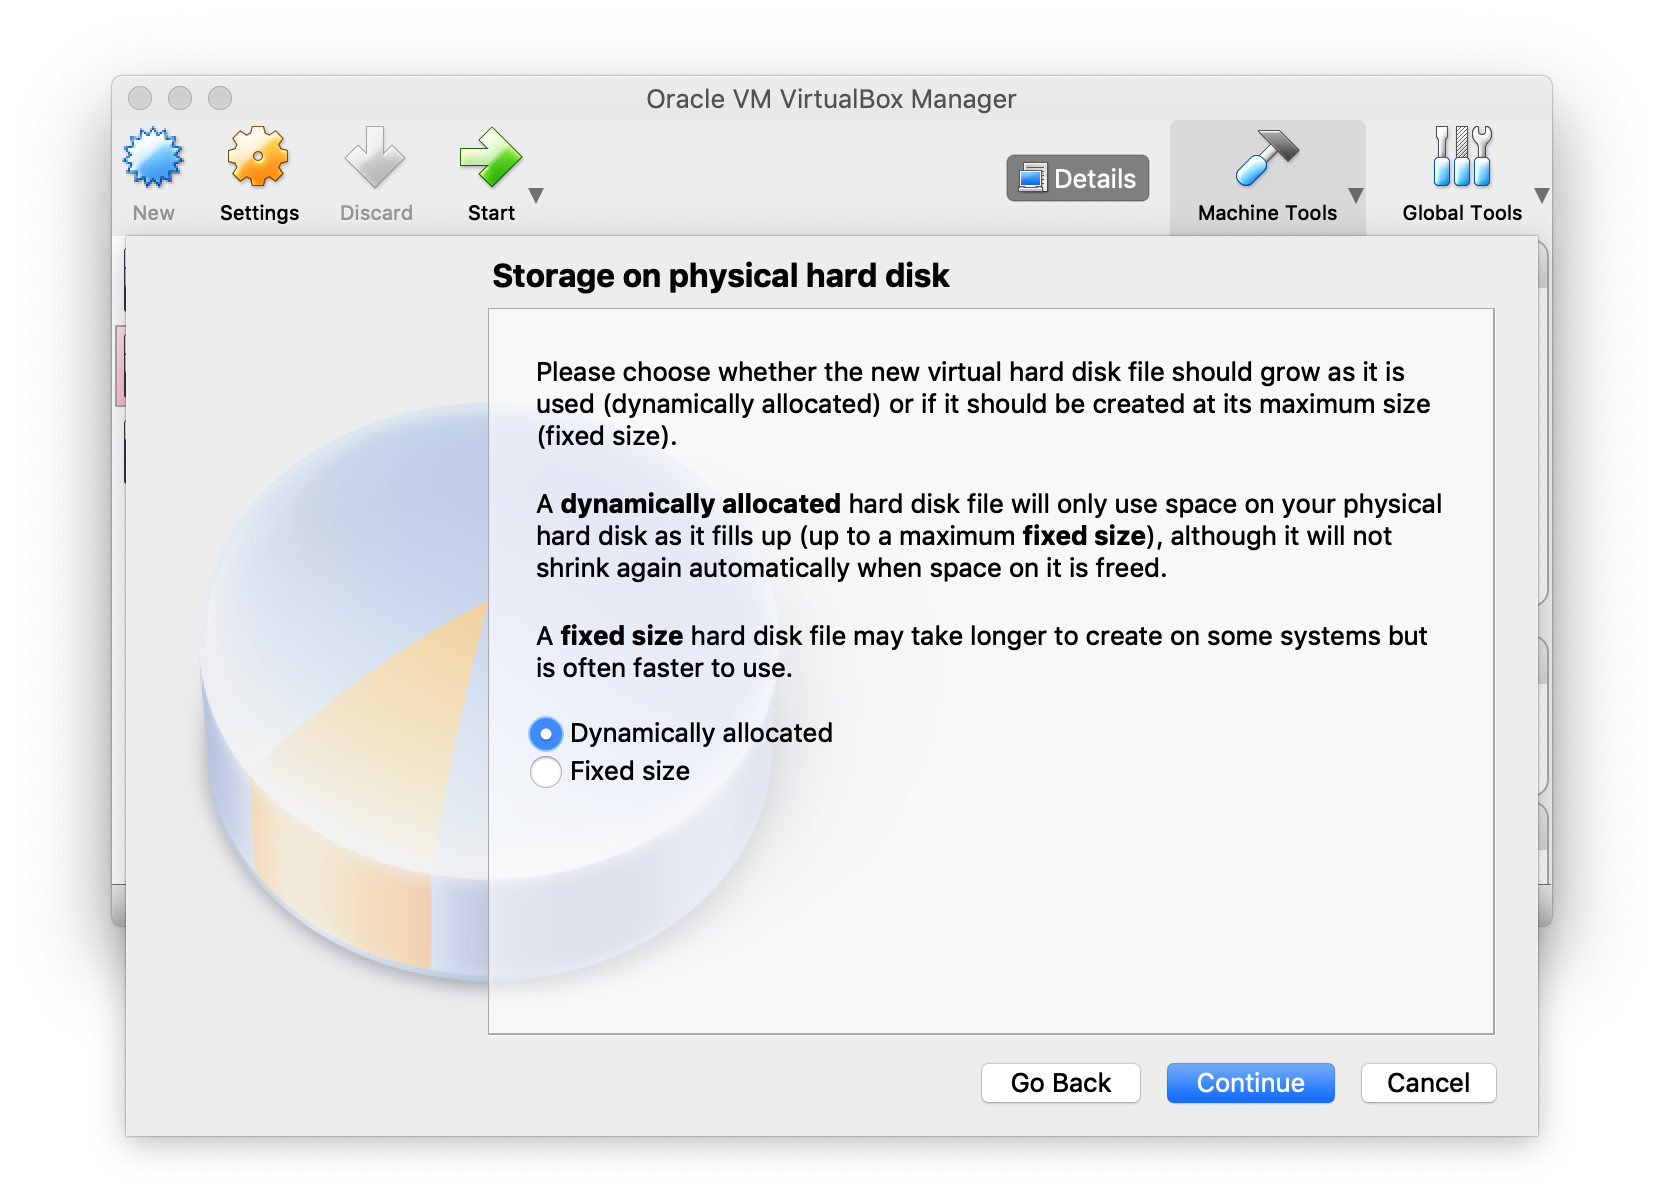
We want a VirtualBox virtual hard drive, so click Continue:
Performance of the virtual hard disk is irrelevant for our usecases, so a dynamically expanding virtual hard disk is okay here. If you feel better choosing a fixed size allocation, that's okay too. Click Continue:
The ISO this OS comes from is 20 MB. So the default hard disk size of 2 GB is way more than enough. Click Continue:
Now the VM "hardware" is set up.
Installation
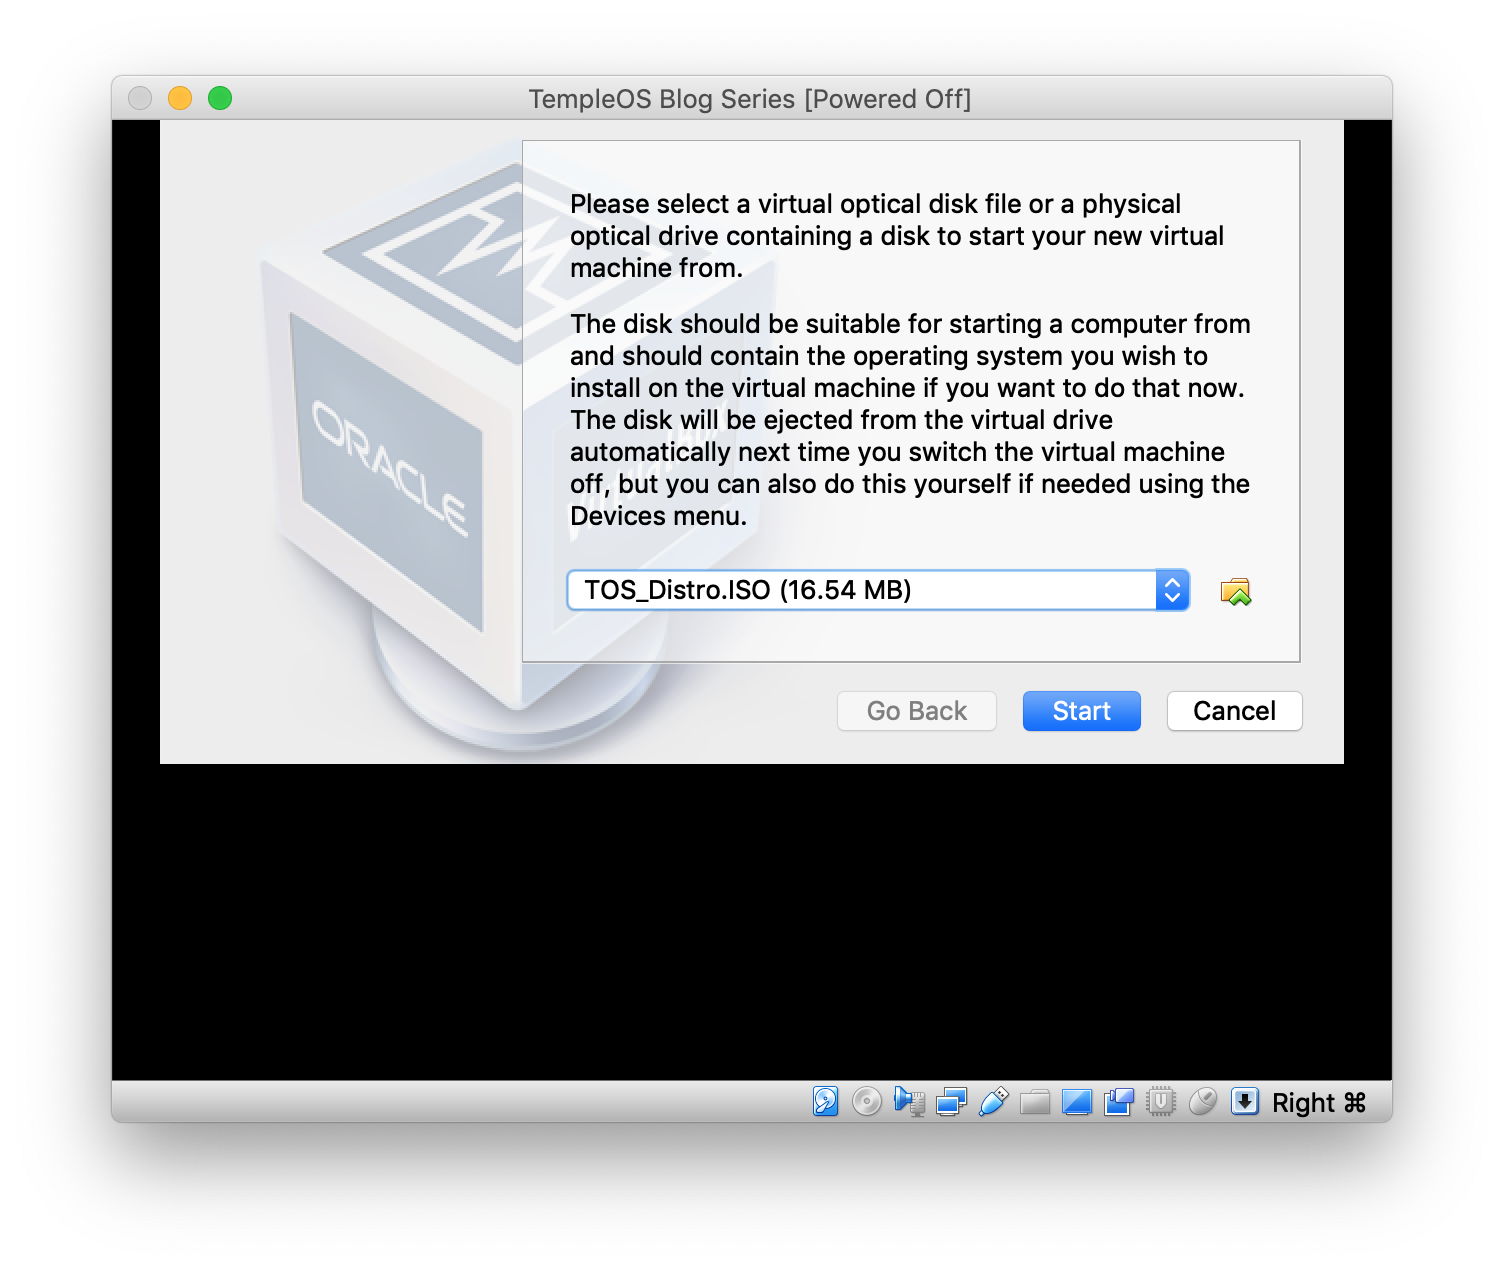
TempleOS actually includes an installer on the live CD. Power up your hardware and stick the CD into it, then click Start:
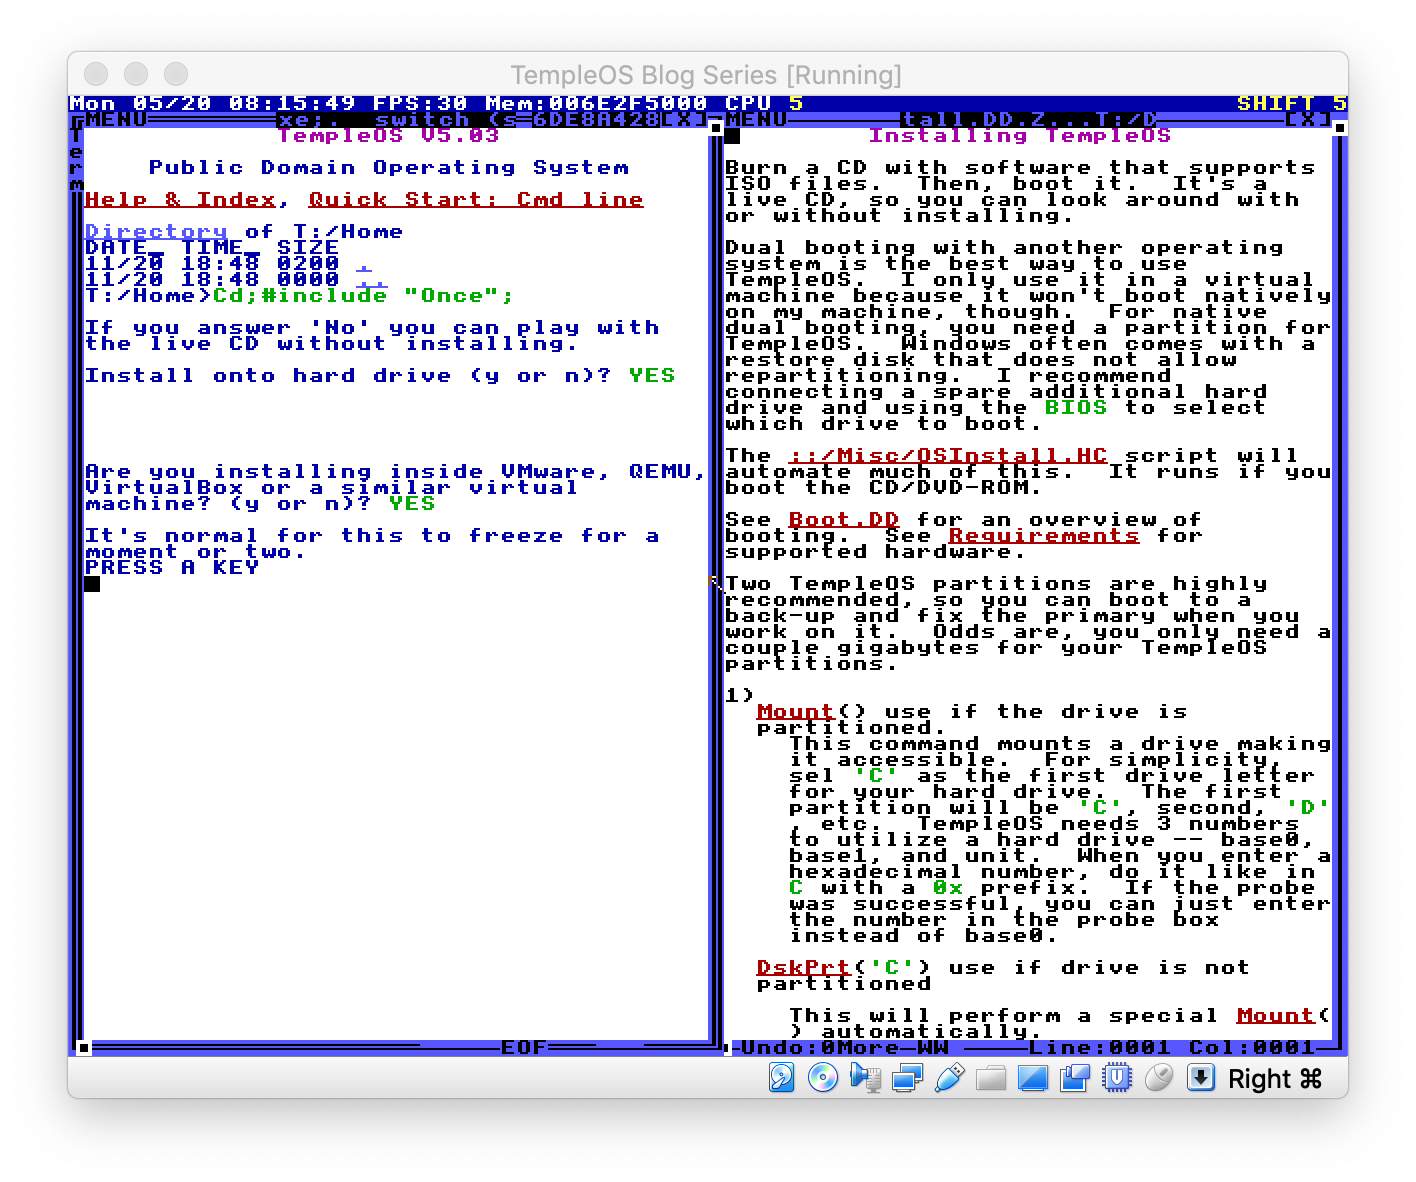
Within a few seconds, the VM compiles the compiler, kernel and userland and then dumps you to this screen, which should look conceptually familiar:
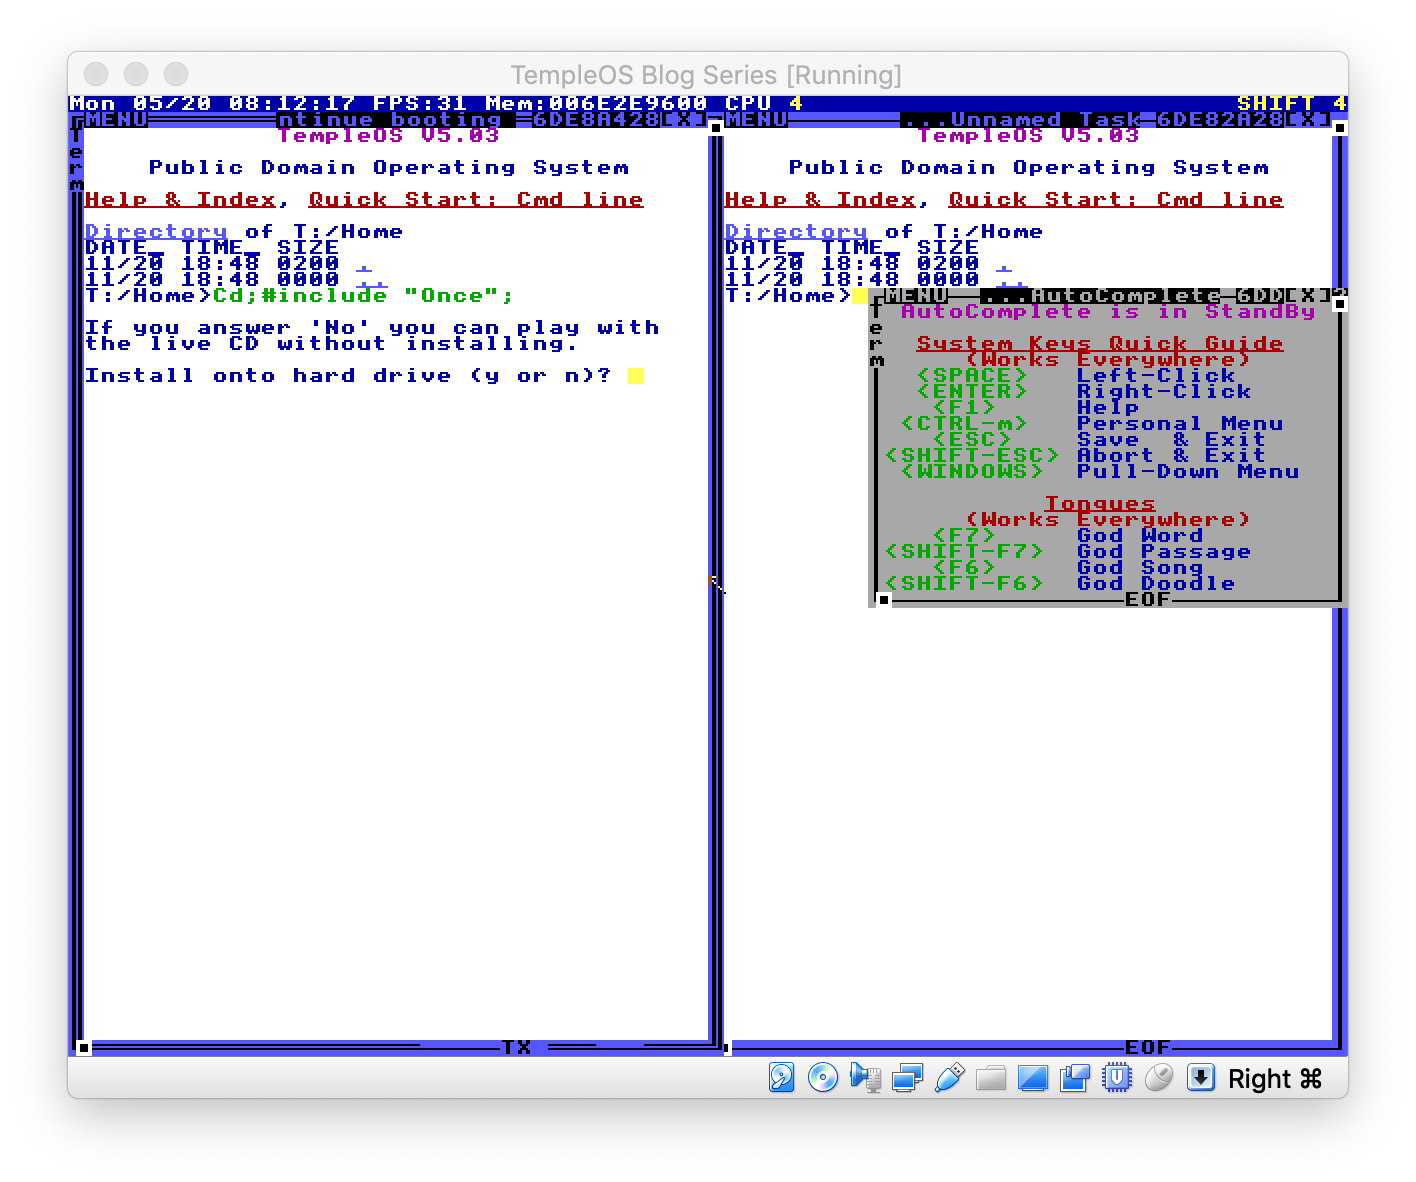
We would like to install on the hard drive, so press y:

We're using VirtualBox, so press y again (if you aren't, be prepared to enter the IRQ's of your hard drive/s and CD drive/s):
Press any key and wait for the freeze to happen.
The installer will take over from here, copying the source code of the OS, Compiler and userland as well as compiling a bootstrap kernel:
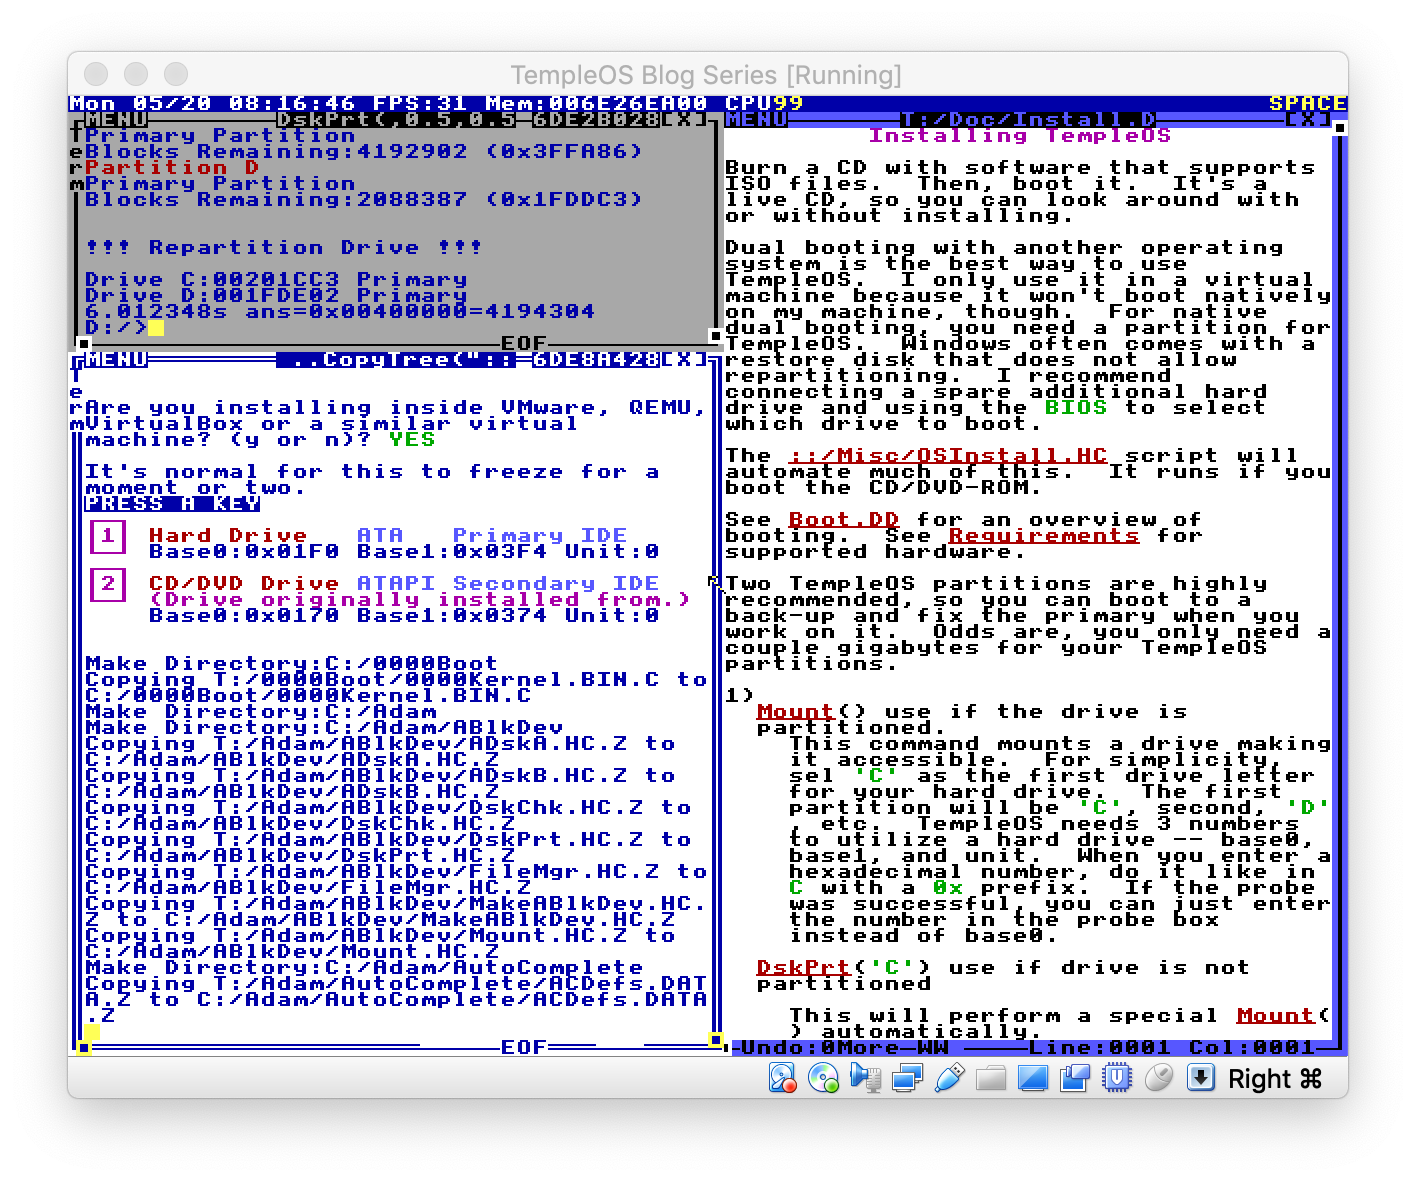
After a few seconds, it will ask you if you want to reboot. You do, so press y one final time:

Make sure to remove the TempleOS live CD from your hardware or it will be booted instead of the new OS.
Usage
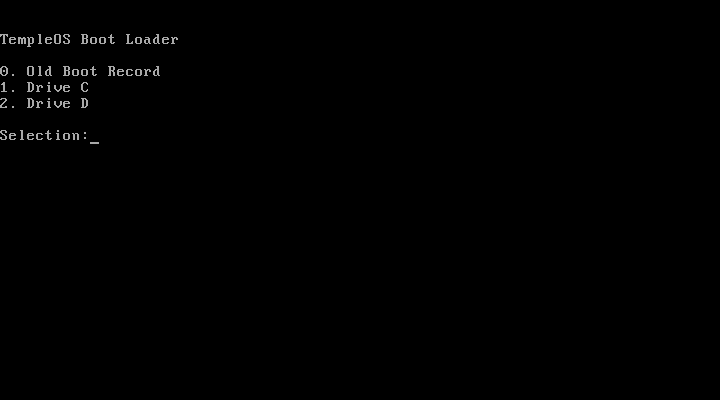
The TempleOS Bootloader presents a helpful menu to let you choose if you want to boot from a copy of the old boot record (preserved at install time), drive C or drive D. Press 1:
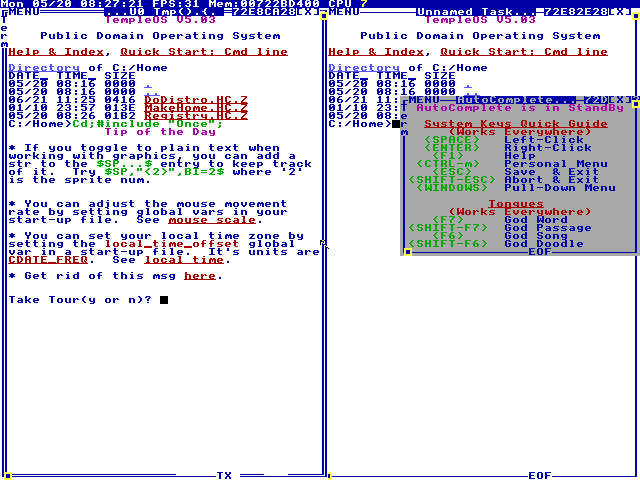
The first boot requires the dictionary to be uncompressed as well as other housekeeping chores, so let it do its thing:
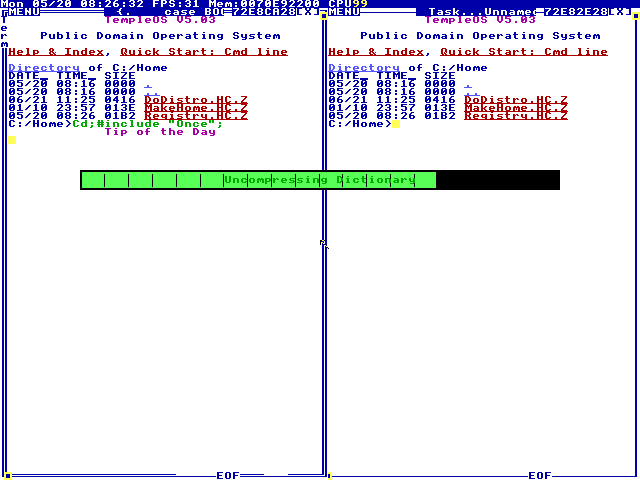
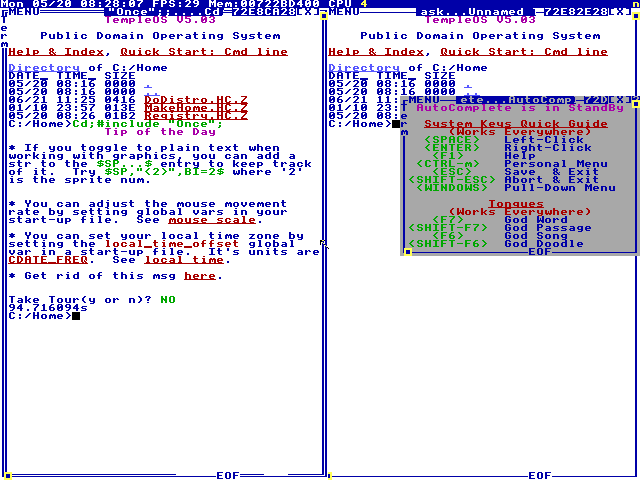
Once it is done, you will see if the option to take the tour. I highly suggest going through this tour, but that is beyond the scope of this article, so we'll assume you pressed n:
Using the Compiler
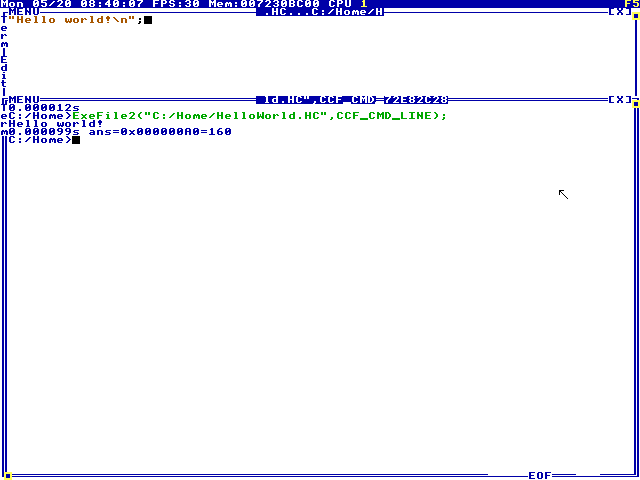
The "shell" is itself an interface to the HolyC (similar to C) compiler. There is no difference between a "shell" REPL and a HolyC repl. This is stupidly powerful:
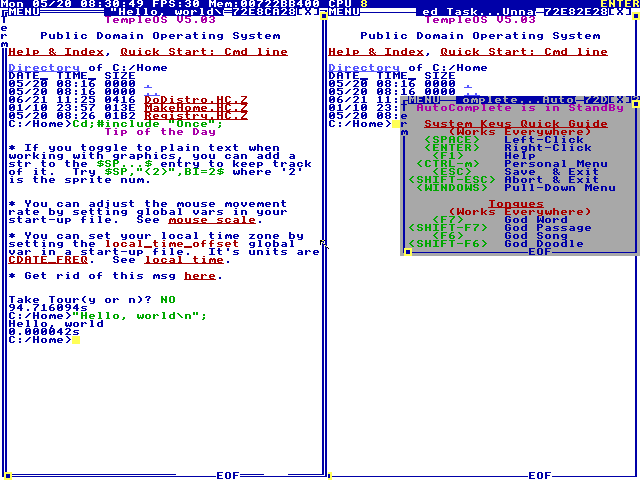
"Hello, world\n";
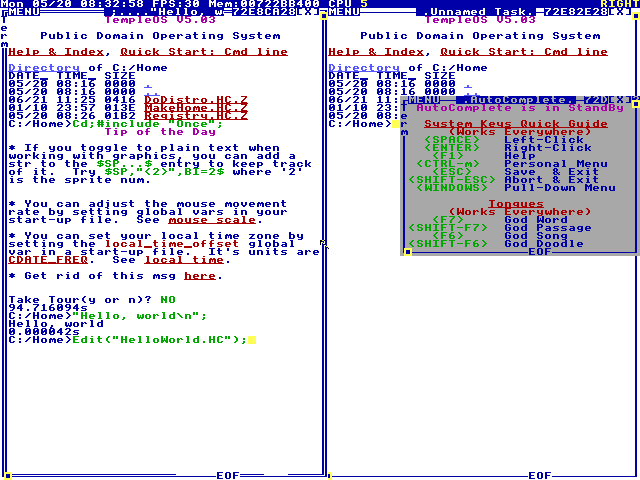
Let's make this into a "program" and disassemble it. This is way easier than it sounds because TempleOS is a fully featured amd64 debugger as well.
Open a new file with Ed("HelloWorld.HC"); (the semicolon is important):
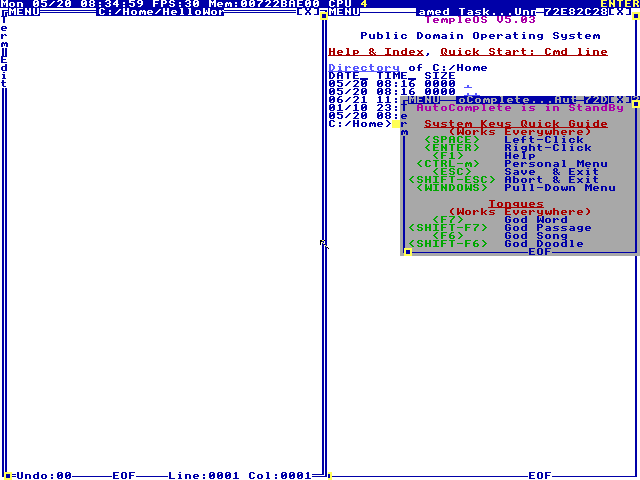
Now press Alt-Shift-a to kill autocomplete:
Click the X in the upper right-hand corner to close the other shell window:
Finally press drag the right side of the window to maximize the editor pane:
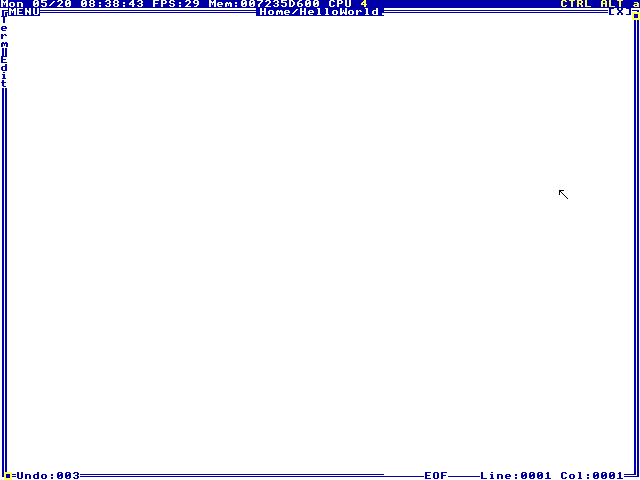
Let's put the hello word example into the program and press F5 to run it:
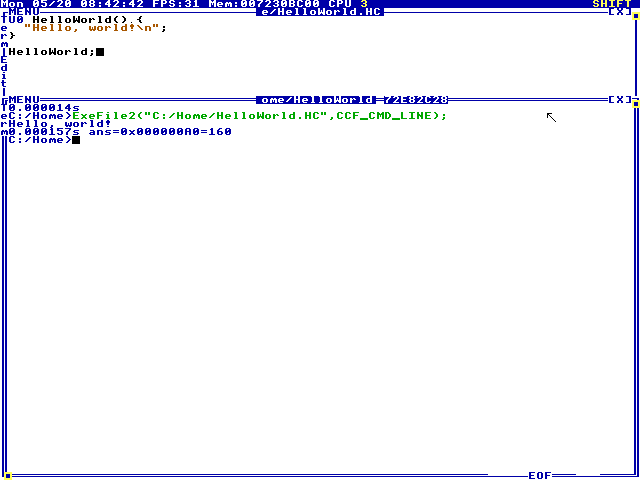
Neat! Close that shell window that just popped up. Let's put this hello world code into a function:
U0 HelloWorld() {
  "Hello, world!\n";
}

HelloWorld;
Now press F5 again:
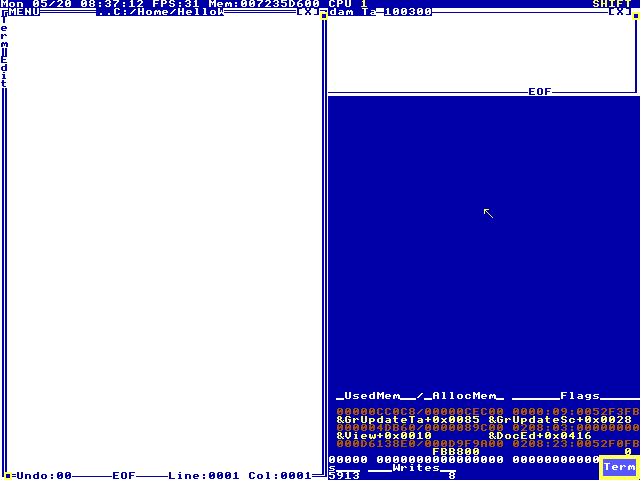
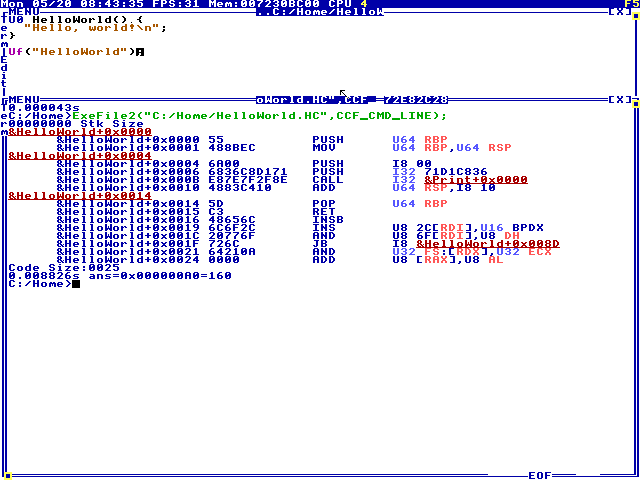
Let's disassemble it:
U0 HelloWorld() {
  "Hello, world!\n";
}

Uf("HelloWorld");
The Uf function also works with anything else, including things like the editor:
Uf("Ed");
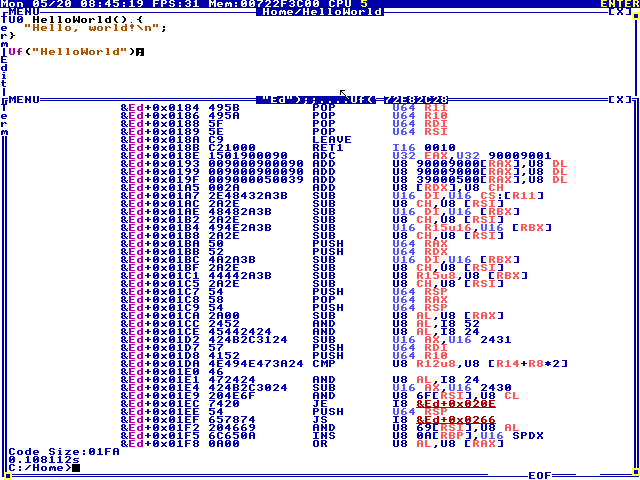
All of the red underscored things that look like links actually are links to the source code of functions. While the HolyC compiler builds things, it internally keeps a sourcemap (much like webapp sourcemaps or how gcc relates errors at runtime to lines of code for the developer) of all of the functions it compiles. Let's look at the definition of Free():
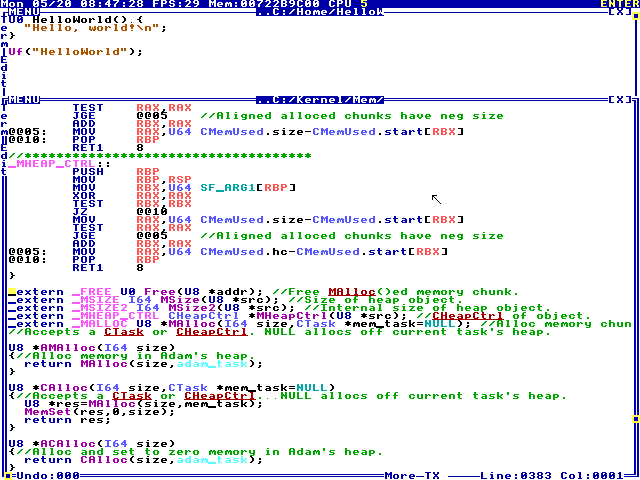
And from here you can dig deeper into the kernel source code.
Next Steps
From here I suggest a few next steps:
- Go through the tour I told you to ignore. It teaches you a lot about the basics of using TempleOS.
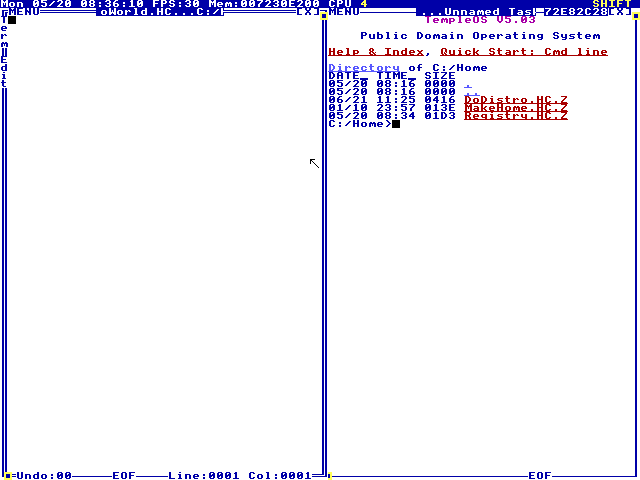
- Figure out how to navigate the filesystem (Hint:
Dir()andCdwork about as you'd expect). - Start digging through documentation and system source code (Hint: they are one and the same).
- Look at the demos in
C:/Demo. Future blogposts in this series will be breaking apart some of these.
I don't really know if I can suggest watching archived Terry Davis videos on youtube. His mental health issues start becoming really apparent and intrusive into the content. However, if you do decide to watch them, I suggest watching them as sober as possible. There will be up to three coherent trains of thought at once. You will need to spend time detangling them, but there's a bunch of gems on how to use TempleOS hidden in them there hills. Gems I hope to dig out for you in future blogposts.
Have fun and be well.
Facts and circumstances may have changed since publication. Please contact me before jumping to conclusions if something seems wrong or unclear.
Tags: